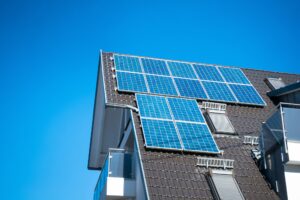
You’ve studied up on solar, and you’re finally ready to pull the trigger on a solar panel system. So what happens next? It’s a big home improvement project with many steps, but most people aren’t aware of what the solar installation process entails.
In this step-by-step guide, we’ll walk you through what to expect during the solar panel installation process.
First, there will be an on-site assessment to determine a few things:
Your roof needs to be structurally sound enough to support the solar panels, and the orientation of your roof determines placement for maximum sun exposure. If there are any shaded areas from trees or other structures, those issues will need to be addressed.
The assessment will help the solar experts design the best possible system for your home.
After the assessment, solar technicians will factor in all of the pertinent information to design a system based on your home’s specifications and your energy requirements.
Next up, you need permission from Big Brother. Luckily, your contractor will be well-versed in the permits and regulations required for the project and can help you with everything you need.
Solar permitting is a problematic and costly issue with several proposed solutions to address the difficulty and expense caused by direct and indirect permitting.

Once all the proper paperwork is approved, the installation can begin! This process consists of several detailed steps to ensure the overall installation goes smoothly.
This entire process could take a day, or up to a week. It all depends on the system’s size and any unforeseen delays — bad weather, roof damage, equipment malfunction, etc.
Now that your system is fully installed, you can turn it on and start enjoying the benefits of a sun-powered home.

Going solar is a sustainable and cost-effective way to generate energy for your home or business. By following this guide and working with solar experts, you can enjoy all the benefits of renewable energy while contributing to a brighter, greener future.
Contact Gurr Brothers Energy today to discuss your solar panel installation!
Author: Hunter S.
Give Gurr Brothers Energy a call today and let’s start powering your life with sunshine!